
Crafters worldwide have enjoyed polymer clay for over 50 years, and today, this versatile medium is more popular than ever. Professional artists and beginners alike explore polymer clay, start businesses, play with their children and unleash their creativity. Regardless of your experience level, you can craft successfully with this clay. Beginners get good results, while experienced professionals can push their limits.
Choosing the right clay formulation and settling on project ideas can be challenging. However, with some simple tips and tricks, you can experiment, learn and enjoy creating something uniquely yours. Here is Sculpey's guide to getting started with polymer clay at different levels.
Sculpey
What Is Polymer Clay?
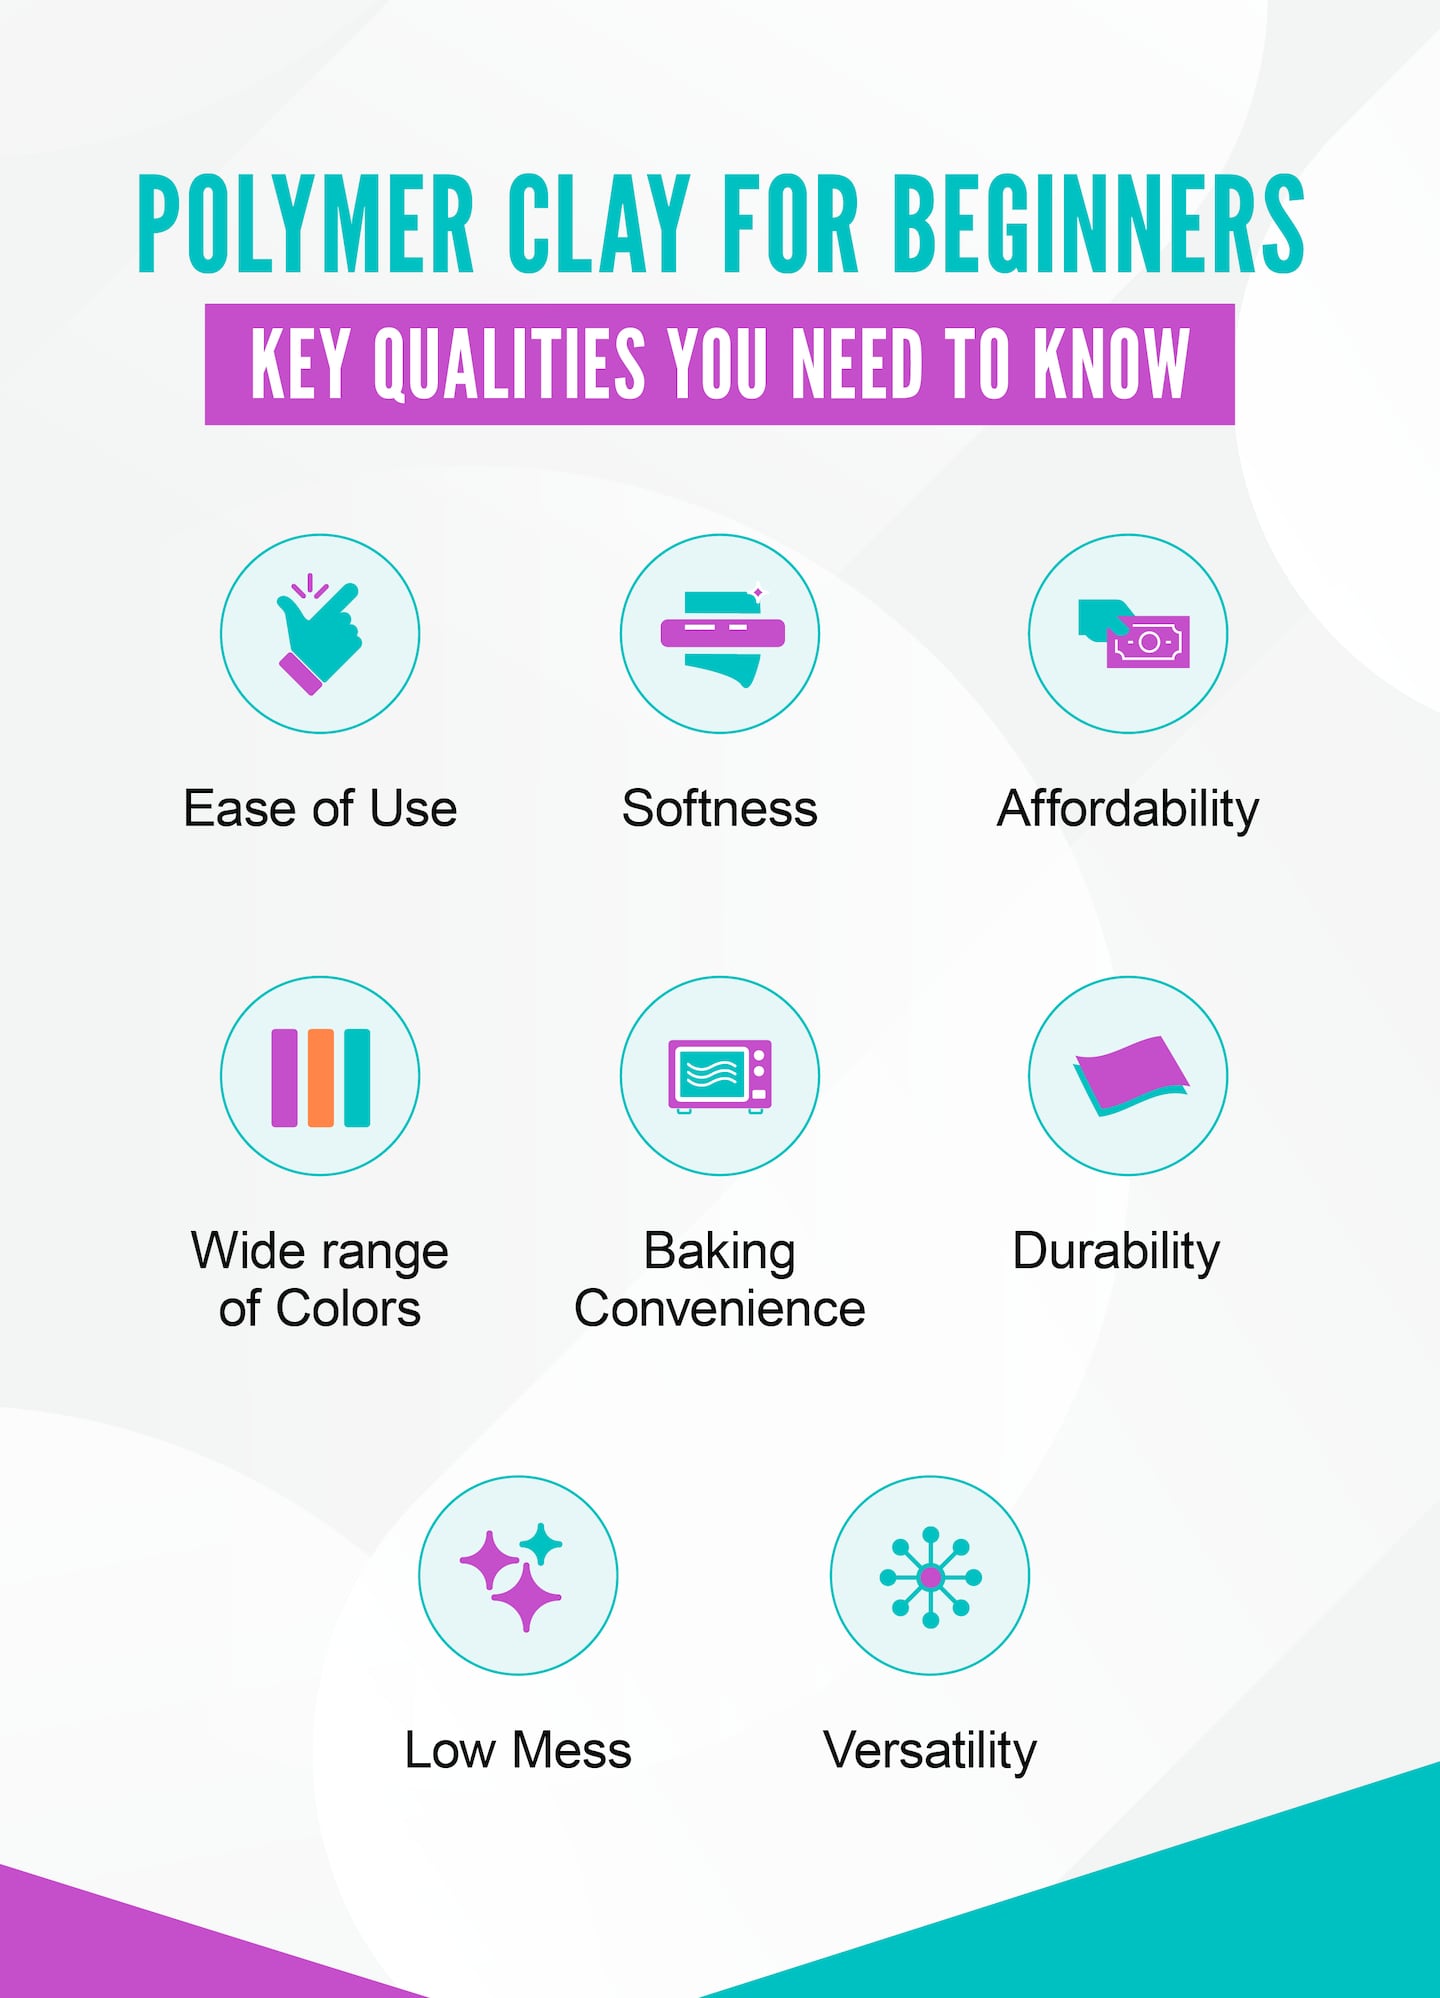
Polymer clay, a synthetic modeling clay made from polyvinyl chloride (PVC), is widely used in children's toys, medical devices and kitchen utensils. Before it's cured, it's highly malleable, allowing you to shape it multiple times without damage. Polymer clay also includes flexible plasticizers, texture-adding fillers and coloring agents to achieve its characteristic malleability and hue.
If you store it properly, polymer clay can last for years. Once you open the packaging, store your clay in a polypropylene plastic bag or container in a cool, dry area. One of the factors that makes this medium so popular is that you don't need a high-temperature kiln to complete your work. Instead, all you need is a conventional or toaster oven.
When baked correctly, polymer clay retains its strength over time. It doesn't expand or shrink, meaning what you make retains its shape throughout the project. Polymer clay will stay the same color after baking, provided you bake it according to package instructions. Once baked, keep it out of direct sunlight to prevent fading. You can also use plain clay and paint it after baking.
How to Select the Right Polymer Clay for Your Project
Your choice of polymer clay largely depends on your goals and experience level. You have a choice of colors, textures and consistencies, each suited to a different application. Regardless of your project or goals, there are several factors to consider when buying clay, including:
- Brand: Different brands are formulated to accomplish different goals, so choose a brand that aligns with yours.
- Color: Polymer clay has a color and finish for every project, including stone, glitter, leather and metallic. If you can't find the color, you can mix clays, paint or varnish your creation after baking.
- Consistency: The consistency of your polymer clay is one of the most important factors to consider, as it impacts your crafting experience. You can choose a highly pliable or dense option depending on the formula. The firmer the clay you select, the more likely you will need to condition it in a machine or knead it with your hands.
- Strength: You can choose a polymer clay formula that hardens to the strength and durability you need. Some are still flexible after baking, and some are more rigid and durable.
- Skill level: Some polymer clay formulations are more challenging to work with than others. If you're a beginner, choose a more straightforward formulation until you get used to the material.
Sculpey
Essential Materials for Polymer Clay Crafting
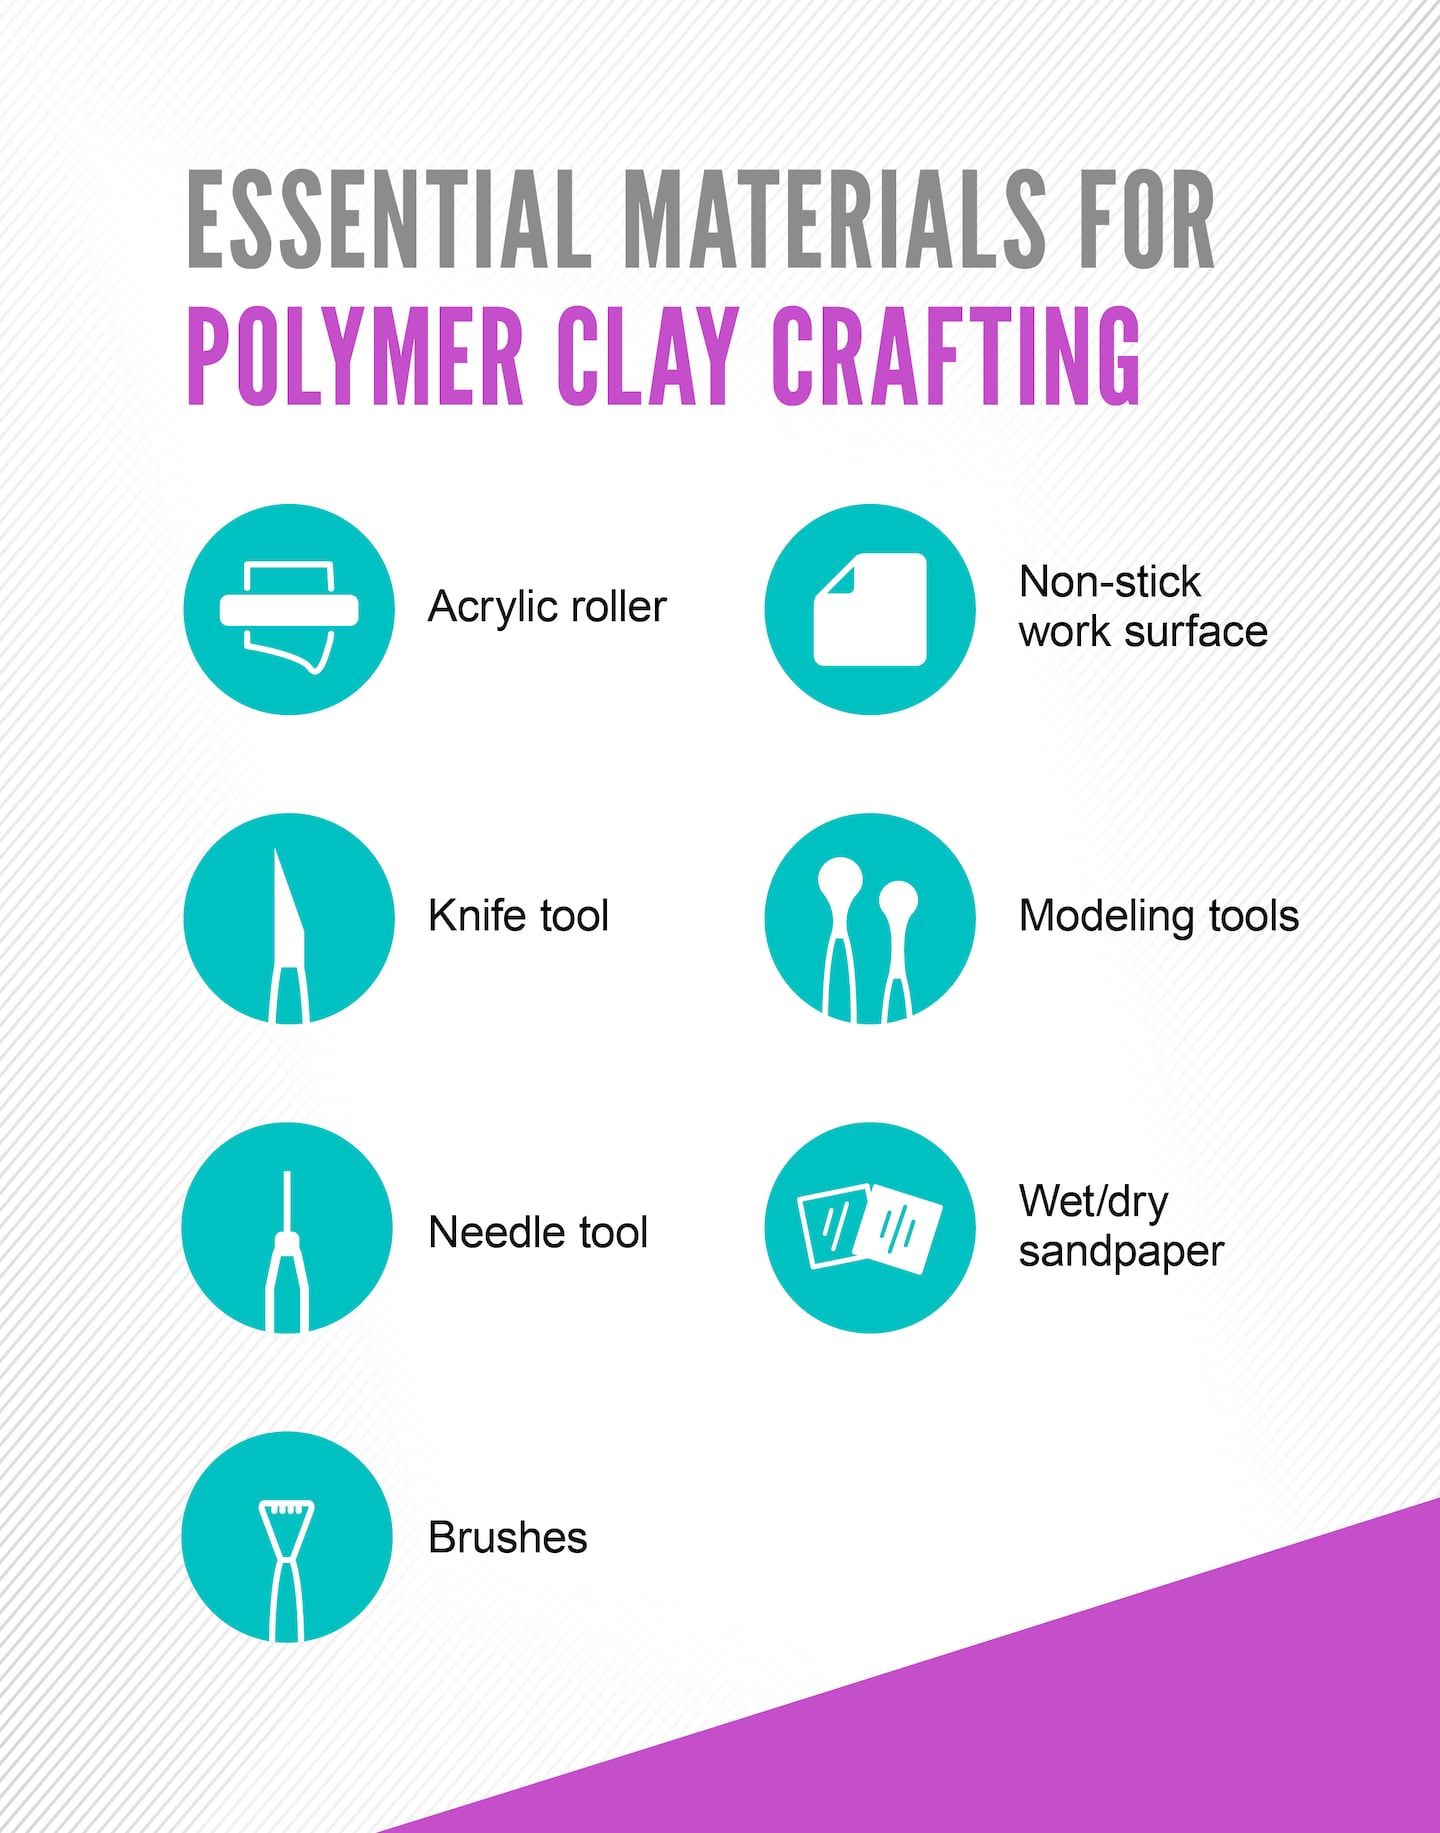
When you start your clay crafting journey, having a few essential tools is helpful. You can expand as you grow your skills, but it's better to start with the following:
- Acrylic roller: Acrylic rolling pins do not stick to the polymer clay, making it easier to craft.
- Non-stick work surface: Your work surface should prevent the clay from sticking so that you can perfect your techniques. Using a clay mat keeps your project organized, as it doesn't move while you're working. It's also easy to clean—all you need to do is wipe it down.
- Knife tool: A knife tool is essential for cutting shapes out of clay sheets, lifting chunks of clay and adding them to your design.
- Modeling tools: A set of modeling tools smooths and details the clay's surface, giving your craft the desired texture.
- Needle tool: A needle tool allows you to score and scratch, adding texture to your creations. You can also use it to make holes in beads and other jewelry items.
- Wet/dry sandpaper: Sandpaper rubs imperfections off your craft, leaving a smooth surface behind. It also removes fingerprints without damaging the clay.
- Brushes: Small paintbrushes can apply powders, acrylic paint and surface treatments to your creations.
Clay Crafting Tips and Techniques
As you progress through your claying journey, you'll learn new techniques and expand your repertoire. However, you have to start somewhere. Basic shaping and forming involves using your hands to manipulate the clay into basic shapes. From there, you can use your tools to add more refined detail. Aside from the basics, the following techniques are ideal for shaping, molding and curing your polymer clay.
Blending
Blending is the most essential tool when working with polymer clay. You can combine clays to make your desired color or smooth the connection between two pieces. Some beginner blending techniques include:
- Blending colors: Knead two different clays together until they combine to create one uniform color.
- Blending pieces of clay: Soft polymer clay sticks to itself. To join clay pieces, score a cross-hatch pattern into both parts with your needle tool and connect them. Smooth the edges with your finger or a modeling tool.
Casting
Use non-stick, oven-safe polymer clay molds to make dimensional shapes with the following steps:
- Dust the mold with cornstarch.
- Push small pieces of clay into the smallest and deepest details of the mold.
- Fill the rest of the mold with clay.
- Role the back of the clay flat.
If you have an oven-safe mold, you can bake the clay immediately. You can also remove it before baking and add it to another piece of clay. Put the mold in the freezer for a few minutes to avoid distortion when removing the clay.
Marbling
Marbling is a popular technique that makes the clay resemble variegated stone. It involves combining but not thoroughly blending multiple colors to get the desired effect. Follow these simple steps:
- Roll a few different clay colors into ropes.
- Twist the tops into a log, then take it up to make a spiral.
- Roll the clay flat.
- Fold the sheet of clay and repeat until you have the pattern you want.
Texturizing
The texture brings your creations to life. You can use tools to create the desired texture, but it's also an opportunity to get creative. Use items around the house, like plastic bags, tree bark and aluminum foil. You can also buy texture sheets to add geometric or natural textures to your creations.
Beginner Projects to Kick-Start Your Polymer Clay Journey
Once you've mastered beginner techniques, you can try a range of different projects. Remember to keep it simple and have fun—you'll build your skills quickly.
An easy sunflower fridge magnet is an excellent place to start. All you need to bring this project to life is some yellow and brown clay and a tool to add the detailing. Then, work through these stages step-by-step:
- Unwrap and knead the clay until it's soft. Clean your hands with baby wipes before switching colors.
- Preheat the oven to 265 F (130 C).
- From ⅓ of a bar of yellow clay, roll a log and cut it into 12 equal parts.
- Shape each yellow part into a little oval and place all 12 into a circle with the sides touching.
- Use a tool to make a line through the center of each petal.
- Use ⅓ of a bar of brown to make a ball in the middle of the petals.
- Push the center of the brown ball down so that it's flat and connected to all the petals.
- Use a tool to make gridlines in the brown clay.
- Poke holes in each square of the grid with a needle tool.
- Bake the clay on an oven-proof surface according to package directions.
Polymer clay beads are also an easy way to get used to working with the material. You can mold beads in an incredible array of colors and textures. String them together to make necklaces, bracelets or keychains.
Advancing Your Polymer Clay Skills
Once you've mastered beginner projects and feel confident in your skills, you can move on to more advanced endeavors. One of the most exciting things about polymer clay as a medium is the range of projects you can complete when you master the following techniques:
- Caning: A clay cane is a long tube of polymer clay. You make it by stacking layers to create a design and then rolling and reducing the canes into a smaller rope. From there, you can slice the rope to reveal the design inside. You can use this technique to make complex designs for beads, jewelry and other projects.
- Millefiori: Millefiori involves combining cane slices of flowers and other designs to create a full decorative pattern. It's a popular technique for jewelry and trinket dishes.
- Mokume Gane: This technique allows you to add organic textures to your designs. Stack layers of clay, press them and cut to expose the rings inside.
Polymer Clay is a Versatile Medium for Everyone
Whether you're a professional artist or a complete beginner, you can use polymer clay to bring your creativity to life. There are no wrong answers when you learn about something new, so experiment, learn and grow your skills with this exciting medium. You might even find an exciting new career as you become the creative artist you've always imagined.
The most important thing is to enjoy the process of creation. You can produce everything from intricate jewelry to whimsical figurines. With every project, you'll enhance your skills and discover new techniques to enrich your experience. Keep trying new projects and methods as your creativity grows.
This story was produced by Sculpey and reviewed and distributed by Stacker.


 Sign Up

